




How to use a dial indicator for measuring the depth of a groove?
 Sep 16, 2026|
 Dial indicators are essential tools in the field of precision measurement, offering high accuracy and reliability. As a leading supplier of dial indicators, we understand the importance of providing our customers with not only top - quality products but also the knowledge to use them effectively. In this blog, we will focus on how to use a dial indicator for measuring the depth of a groove.
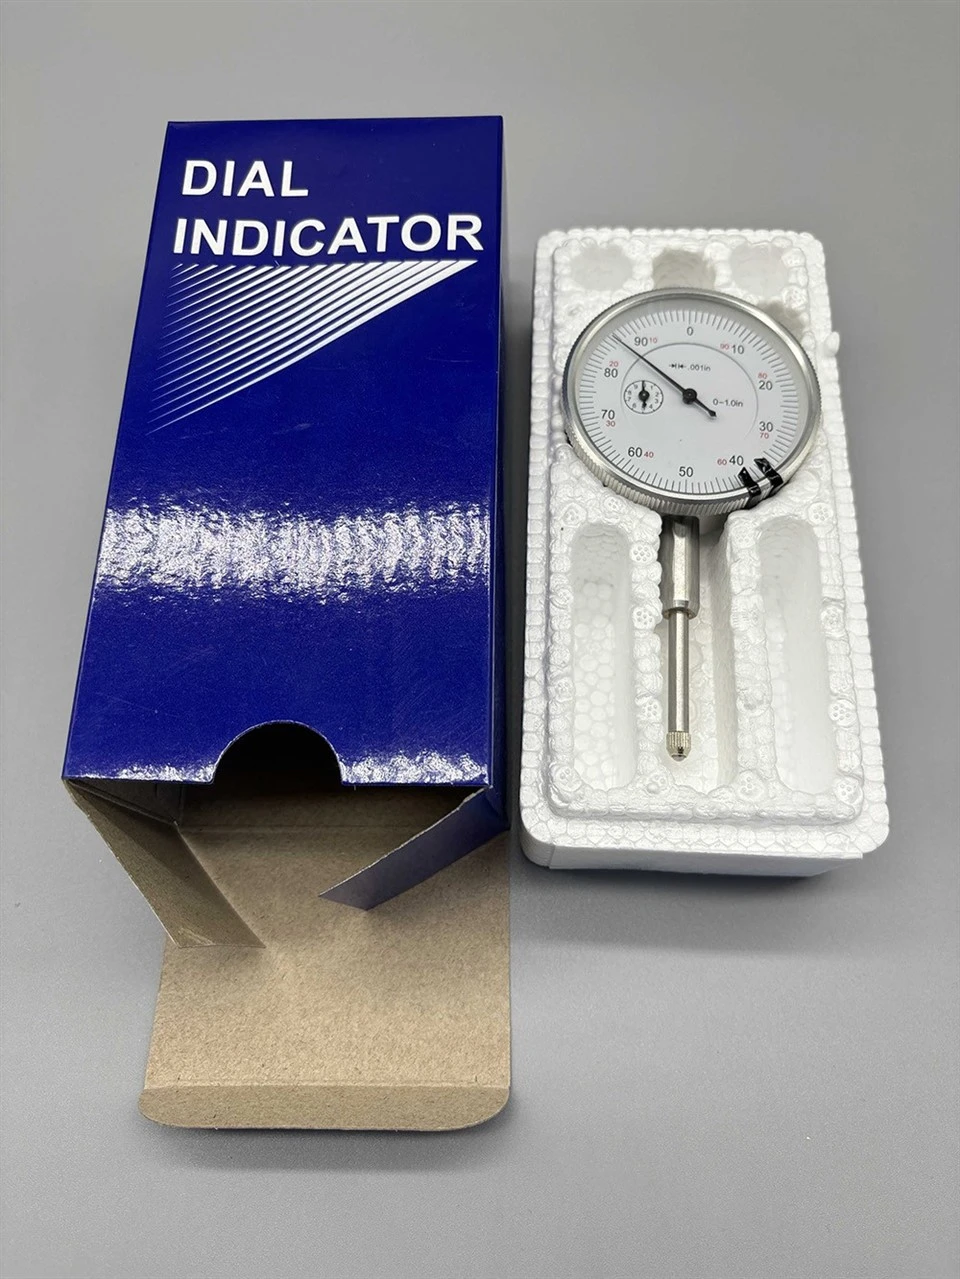

Understanding the Dial Indicator
Before we delve into the measurement process, it's crucial to understand the basic components and functions of a dial indicator. A dial indicator typically consists of a body, a plunger, a bezel, and a dial face with a pointer. The plunger moves in and out in response to the surface it contacts, and this movement is translated into the rotation of the pointer on the dial face, allowing us to read the measurement.
There are different types of dial indicators available in the market. For instance, the Imperial Dial Indicator is designed to provide measurements in imperial units, which is commonly used in some regions, especially in the United States. On the other hand, Digital Indicator Gauge offers a digital display, which can be more convenient for some users as it provides a clear and easy - to - read measurement value.
Preparing for the Measurement
- Select the Right Dial Indicator
- Consider the range and accuracy requirements of your measurement. If you are measuring a relatively shallow groove, a dial indicator with a smaller range may be sufficient. For deeper grooves, you may need a dial indicator with a larger range.
- Ensure that the dial indicator is in good working condition. Check for any signs of damage, such as a bent plunger or a malfunctioning pointer.
- Prepare the Workpiece
- Clean the groove and the surrounding area to remove any dirt, debris, or oil. This will ensure accurate contact between the dial indicator and the surface of the groove.
- Secure the workpiece firmly in place. You can use a vise or other suitable fixtures to prevent the workpiece from moving during the measurement process.
Measuring the Depth of a Groove
- Zero the Dial Indicator
- Place the dial indicator on a flat and stable surface, such as a surface plate.
- Gently press the plunger of the dial indicator until the pointer moves to a position where it can be easily adjusted.
- Rotate the bezel of the dial indicator to align the zero mark with the pointer. This sets the reference point for your measurement.
- Position the Dial Indicator
- Carefully position the dial indicator over the groove. The plunger should be perpendicular to the bottom of the groove.
- Lower the dial indicator until the plunger makes contact with the bottom of the groove. Make sure the contact is firm but not too forceful, as excessive force can damage the dial indicator or affect the accuracy of the measurement.
- Take the Measurement
- Once the plunger is in contact with the bottom of the groove, read the value on the dial face. The pointer indicates the depth of the groove relative to the zero reference point.
- If you are using a digital indicator gauge, the measurement value will be displayed directly on the screen.
- Take multiple measurements at different points along the groove to ensure accuracy. Variations in the groove depth may occur due to manufacturing tolerances or wear.
Tips for Accurate Measurement
- Use a Dial Bore Gauge Set
- For more precise measurements of grooves, especially in cylindrical bores, a Dial Bore Gauge Set can be a valuable tool. These sets are designed to measure the internal dimensions of bores and grooves with high accuracy.
- Account for Parallax Error
- When reading the dial face, make sure your line of sight is perpendicular to the dial. Parallax error can occur if you view the dial from an angle, leading to inaccurate readings.
- Calibrate Regularly
- To maintain the accuracy of your dial indicator, it is important to calibrate it regularly. This can be done using a calibration standard or by sending it to a professional calibration service.
Applications of Groove Depth Measurement
Measuring the depth of a groove is important in various industries. In the automotive industry, grooves in engine components such as pistons and cylinders need to be measured accurately to ensure proper fit and performance. In the manufacturing of precision parts, groove depth measurement is crucial for quality control. For example, in the production of gears, the depth of the tooth grooves affects the meshing and transmission of power.
Conclusion
Using a dial indicator to measure the depth of a groove is a relatively straightforward process, but it requires careful preparation and attention to detail. By following the steps outlined in this blog, you can obtain accurate measurements and ensure the quality of your workpieces.
As a trusted supplier of dial indicators, we are committed to providing you with the best products and support. If you have any questions about our dial indicators or need assistance with measurement techniques, please feel free to contact us for a procurement discussion. We look forward to serving you and helping you meet your measurement needs.
References
- "Precision Measurement Handbook" by John Doe
- "Guide to Using Dial Indicators" by Jane Smith